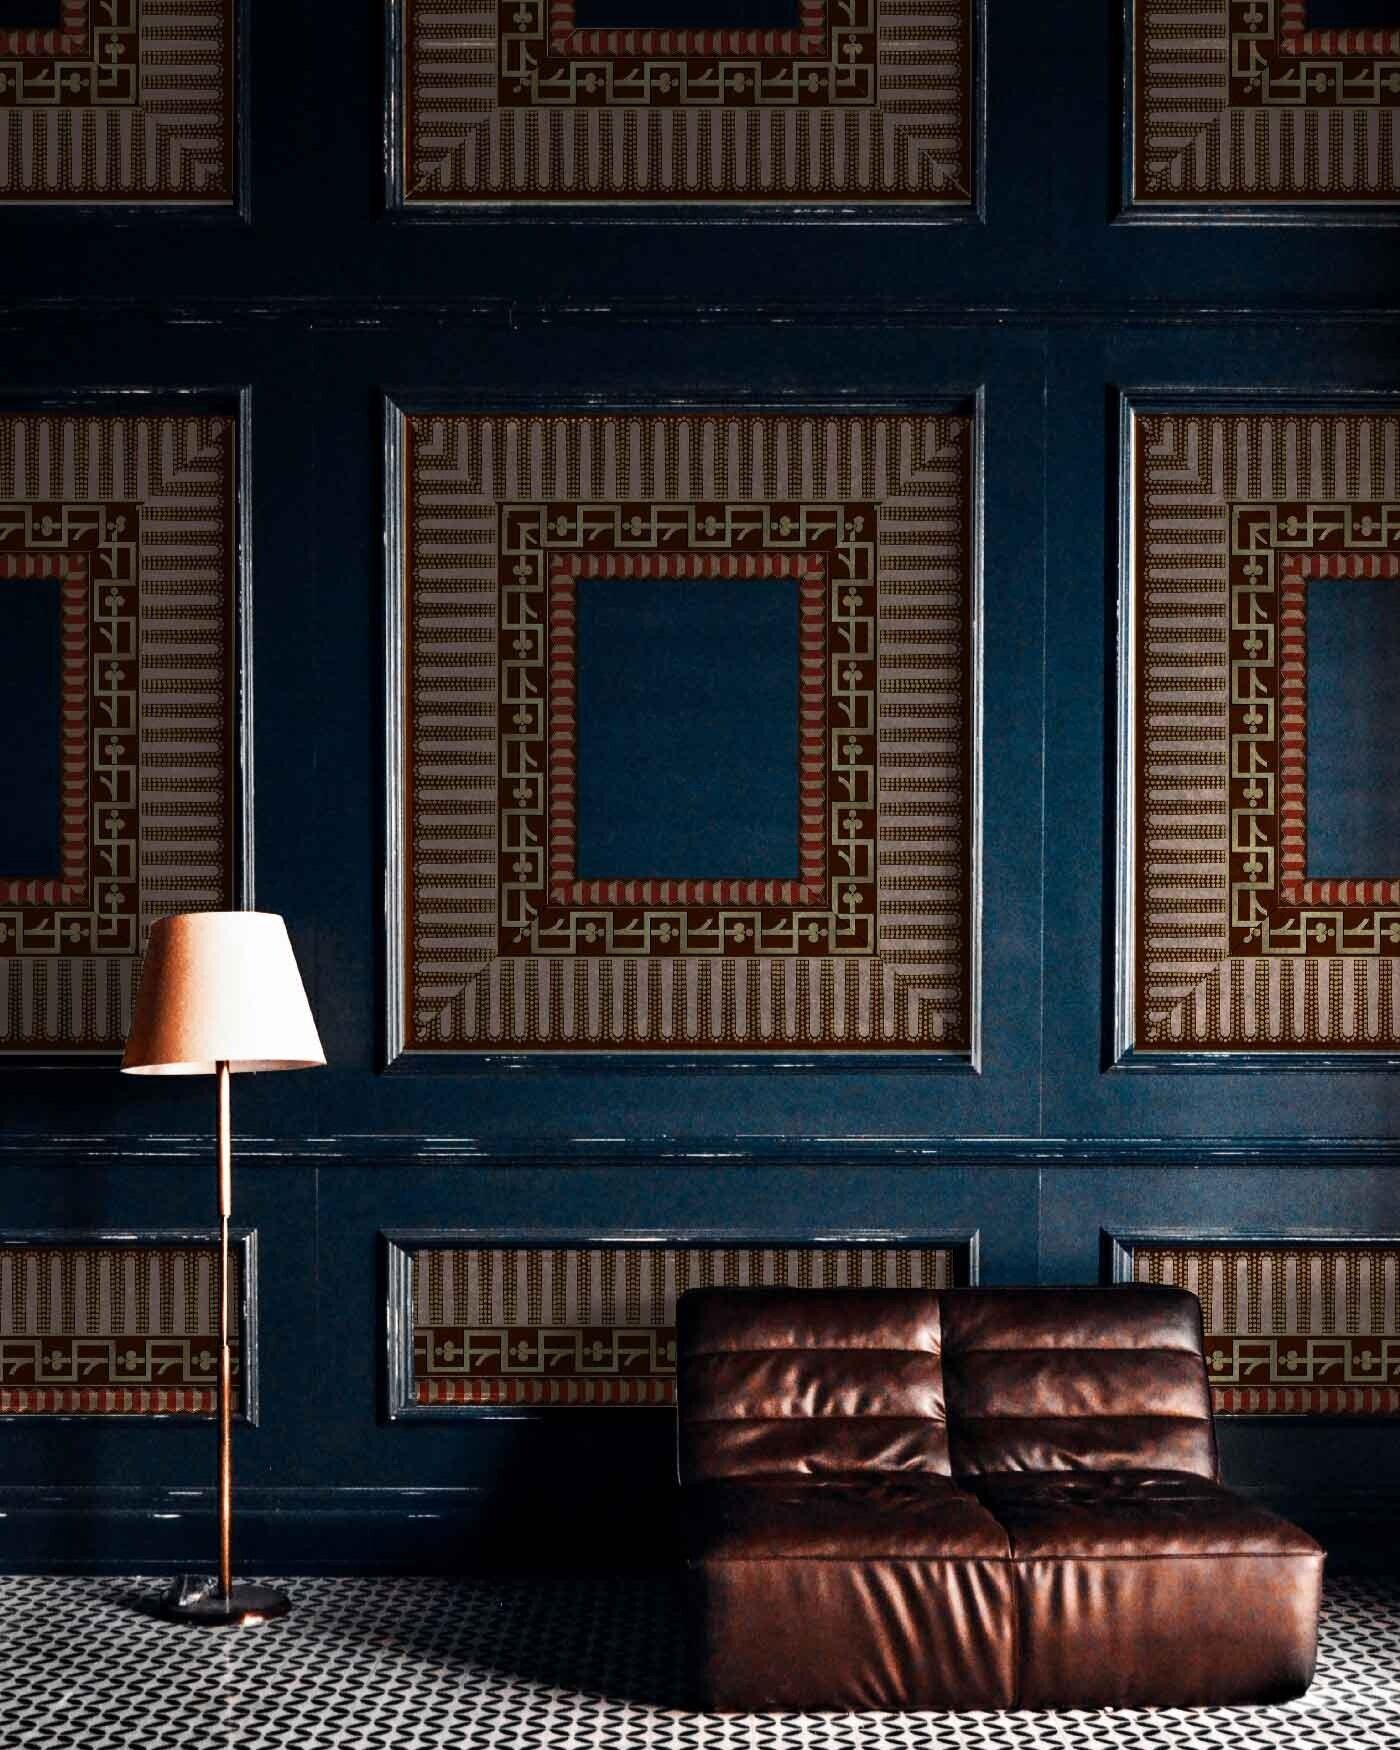
DANDY DIY ROOM DIVIDER
Maximize Excess Wallcovering and Create a Room Divider that will Garner Some Undivided Attention.
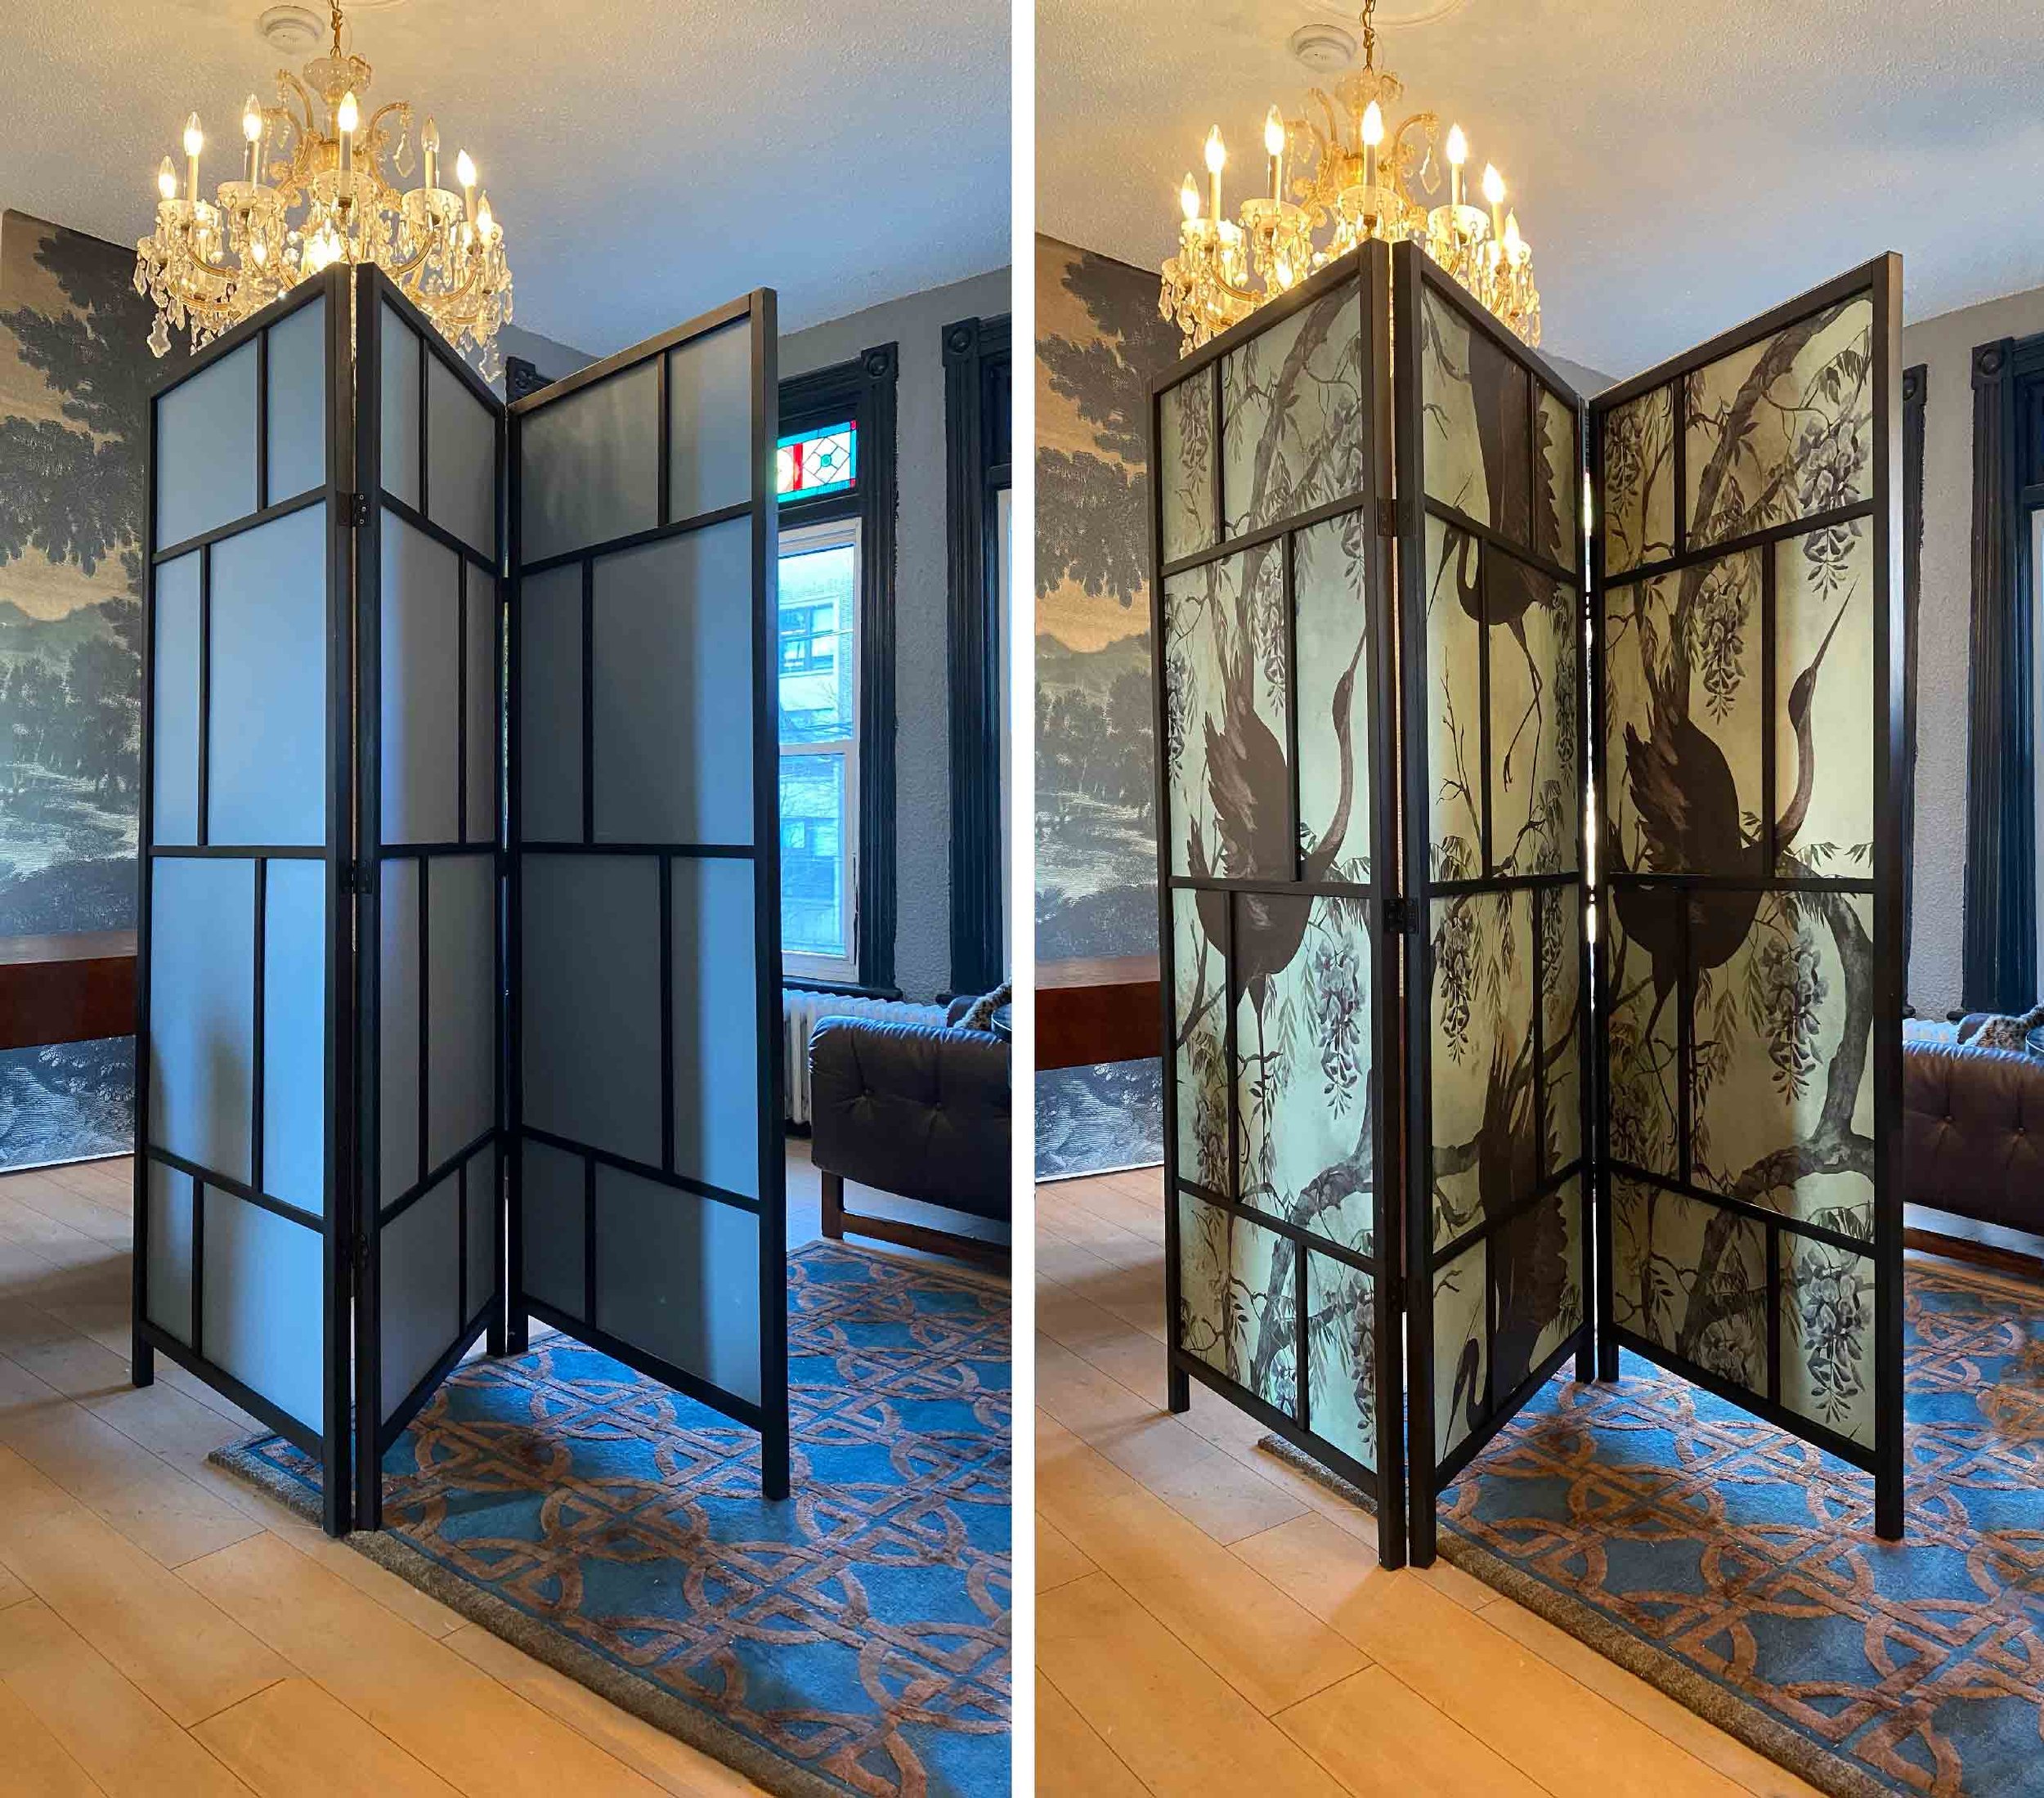
DIY Dears! We love a good hack! In her quest to discover the perfect solution for excess wallpaper, the singular talent that is @studiosmallwood transformed this handsome room divider from @ikea using @anniesloanhome @chalkpaint for the frame and our Paradis wallcovering in Orchid with Patina. According to Sally "Furniture is art you can sit on, work at, and store things in. It’s the perfect marriage of beautiful and useful.” We have to agree!
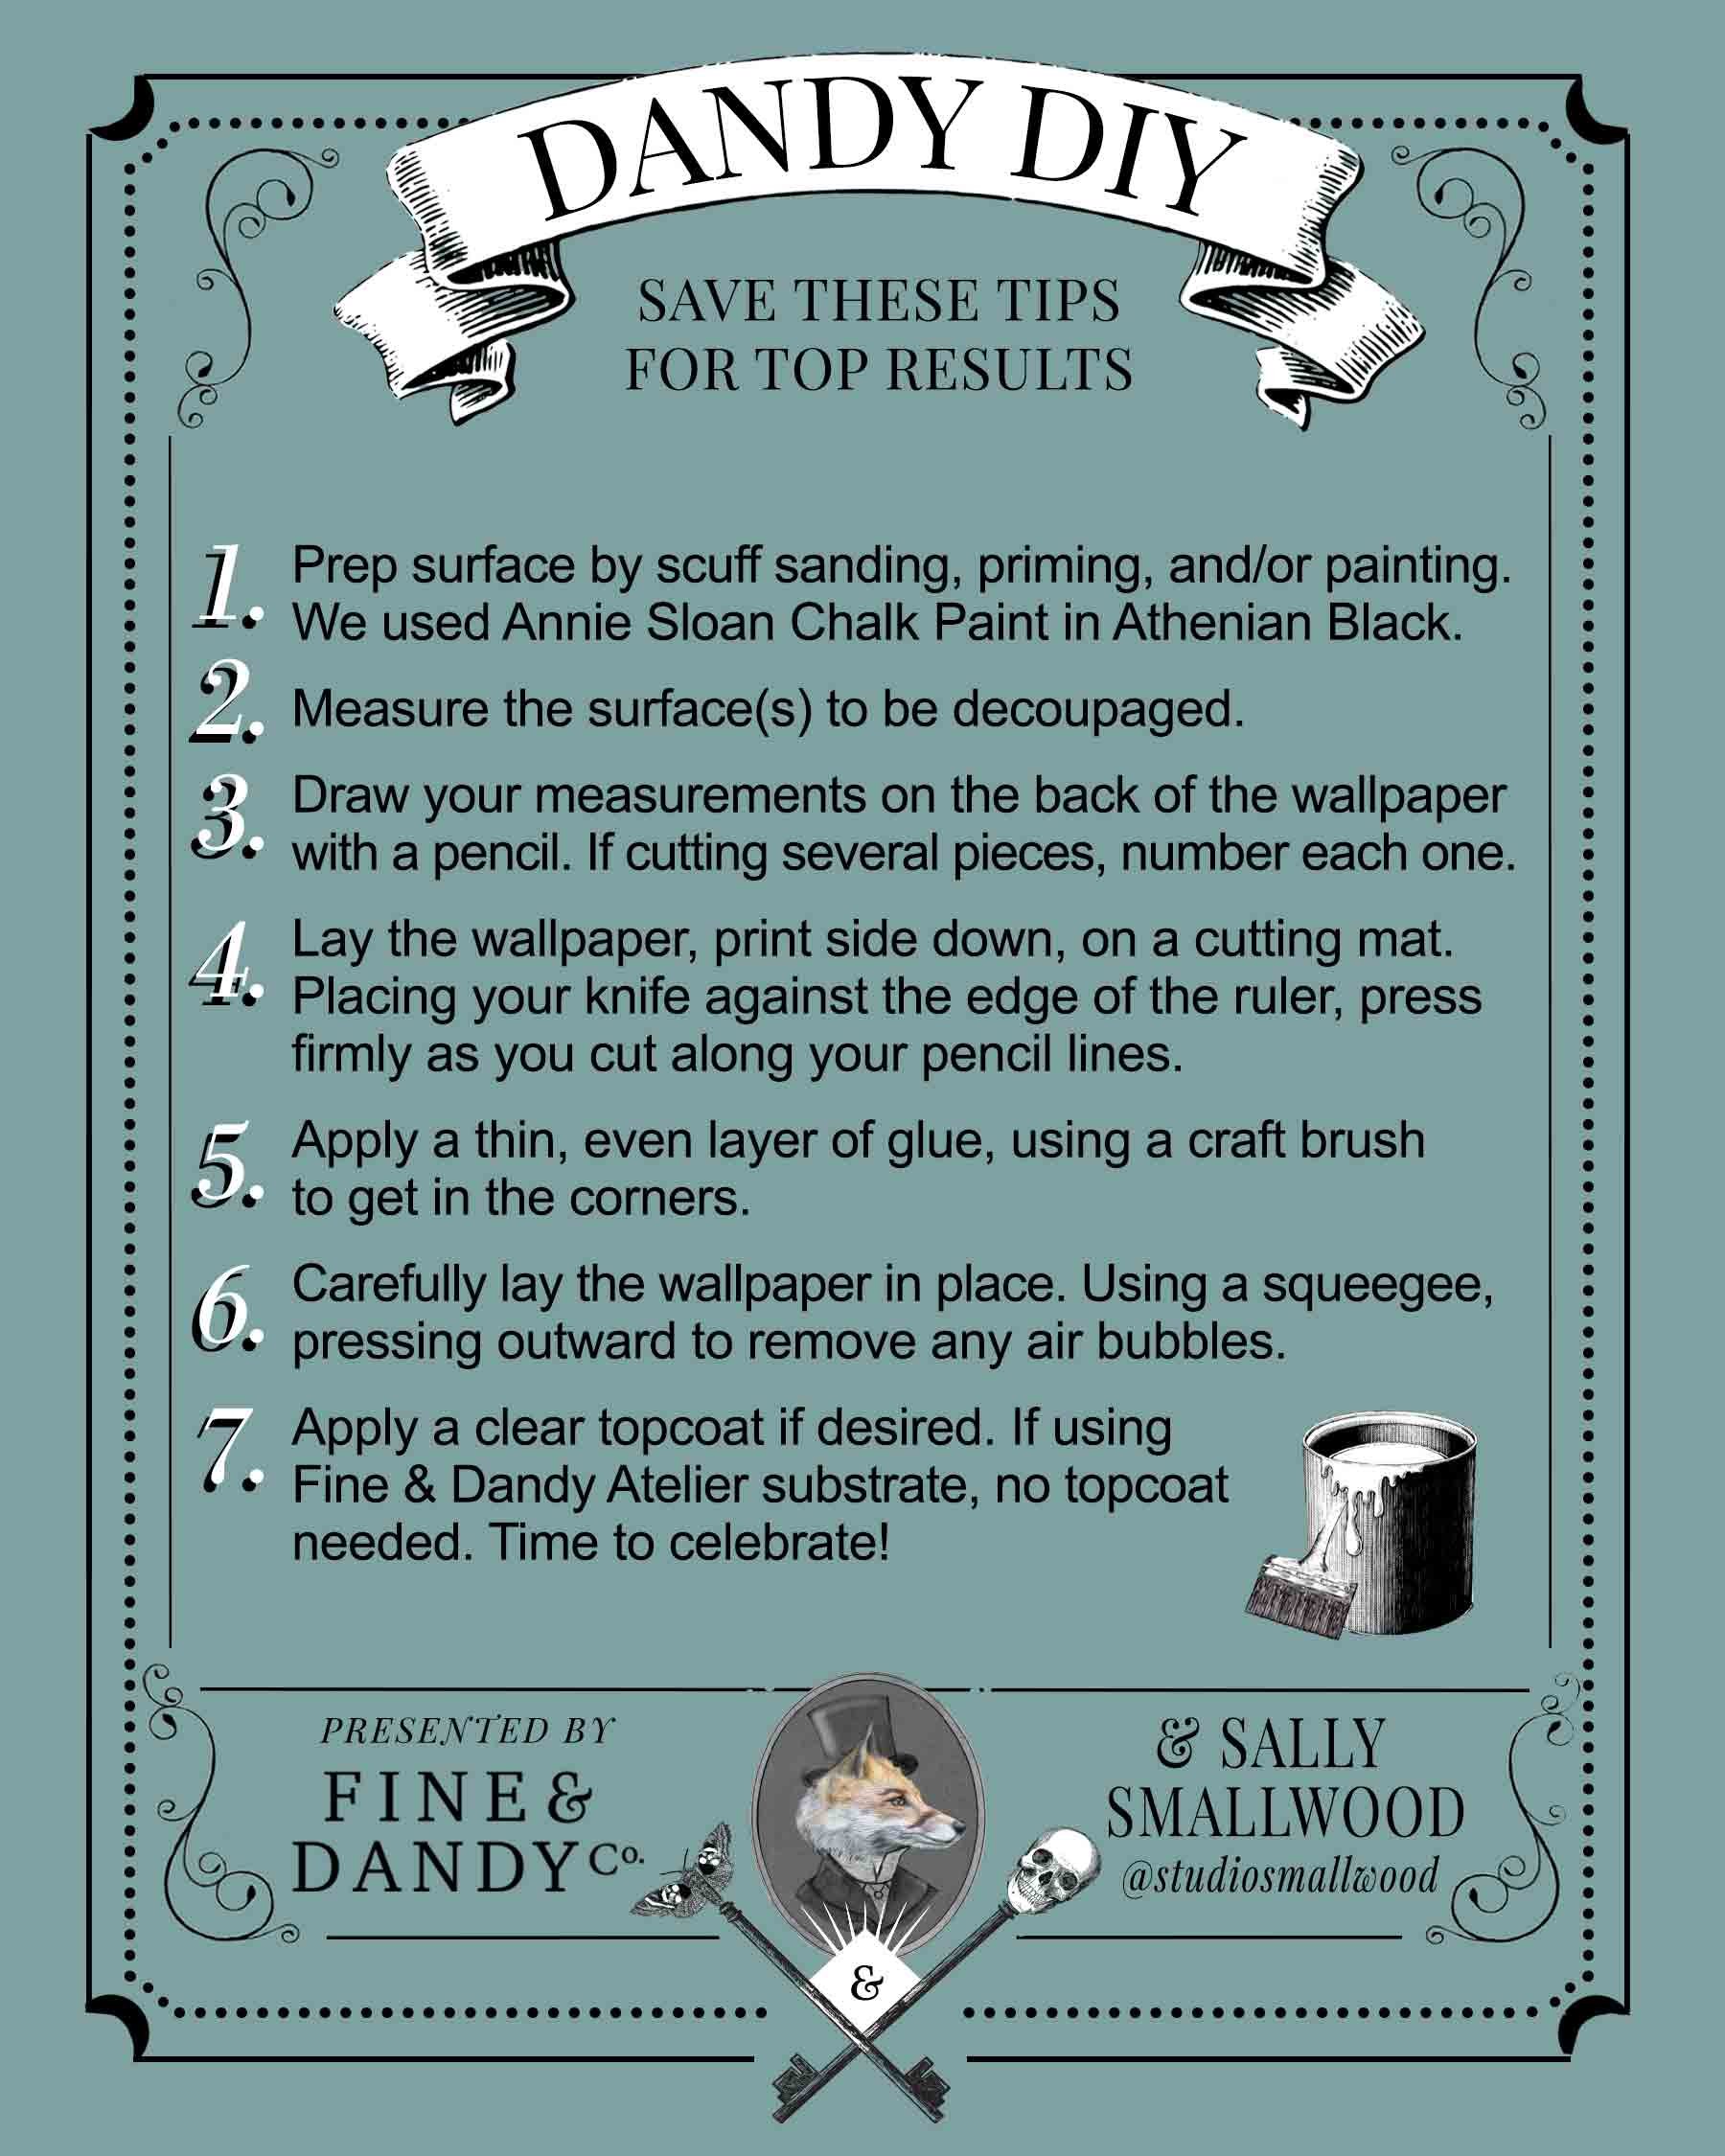
SAVE THESE TIPS FOR TOP RESULTS
1. Prep surface by scuff sanding, priming, and/or painting. We used Annie Sloan Chalk Paint in Athenian Black.
2. Measure the surface(s) to be decoupaged.
3. Draw your measurements on the back of the wallpaper with a pencil. If cutting several pieces, number each one.
4. Lay the wallpaper, print side down, on a cutting mat. Placing your knife against the edge of the ruler, press
firmly as you cut along your pencil lines.
5. Apply a thin, even layer of glue, using a craft brush to get in the corners.
6. Carefully lay the wallpaper in place. Using a squeegee, pressing outward to remove any air bubbles.
7. Apply a clear topcoat if desired. If using Fine & Dandy Atelier substrate, no topcoat needed.
Time to celebrate!
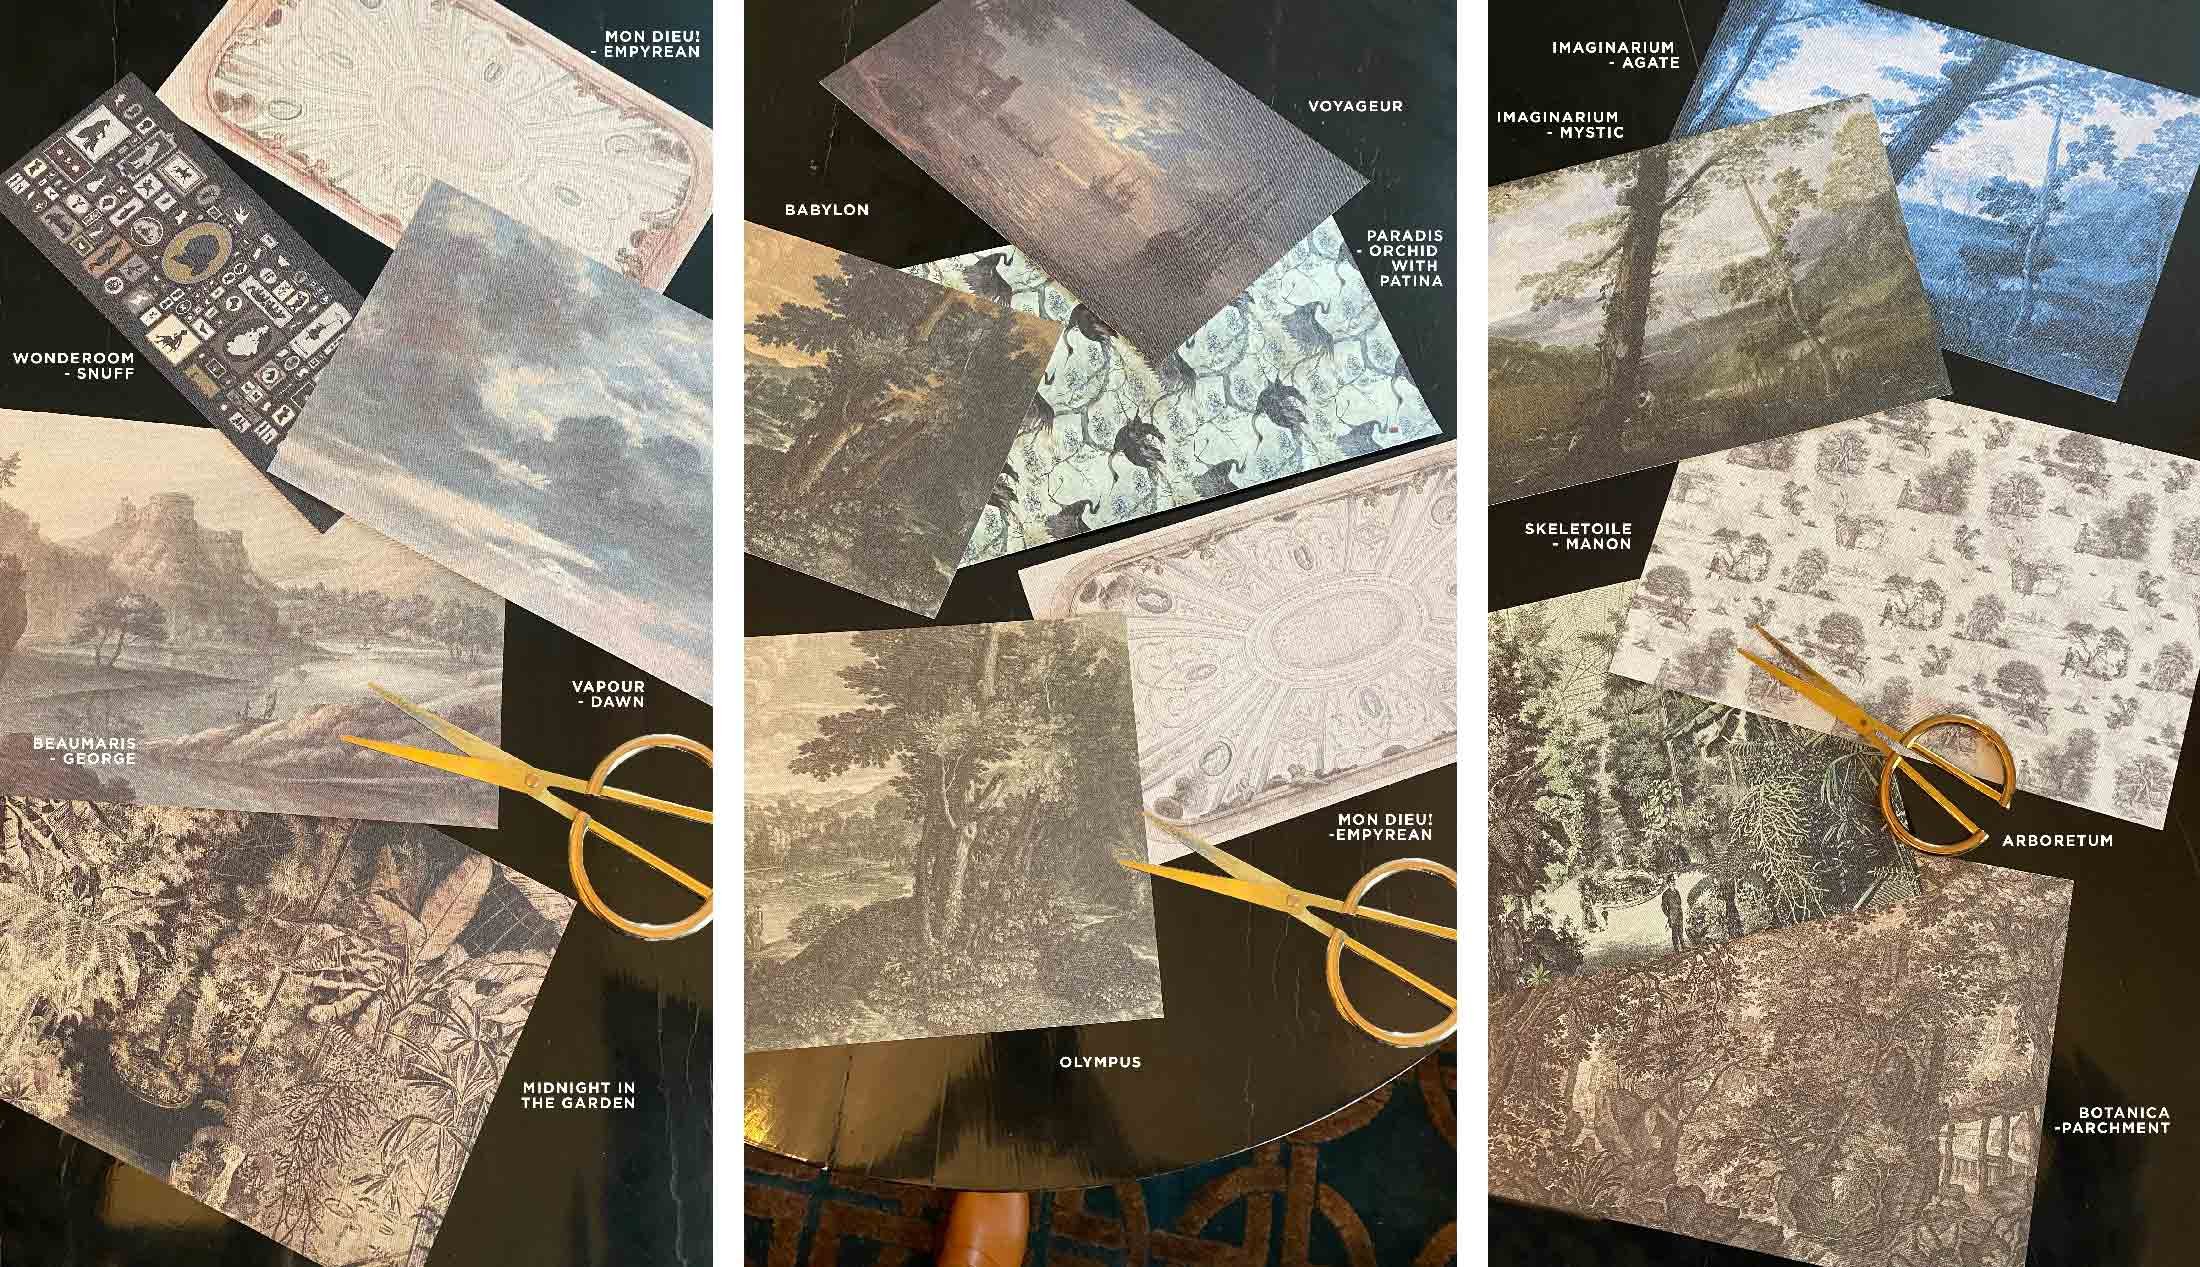
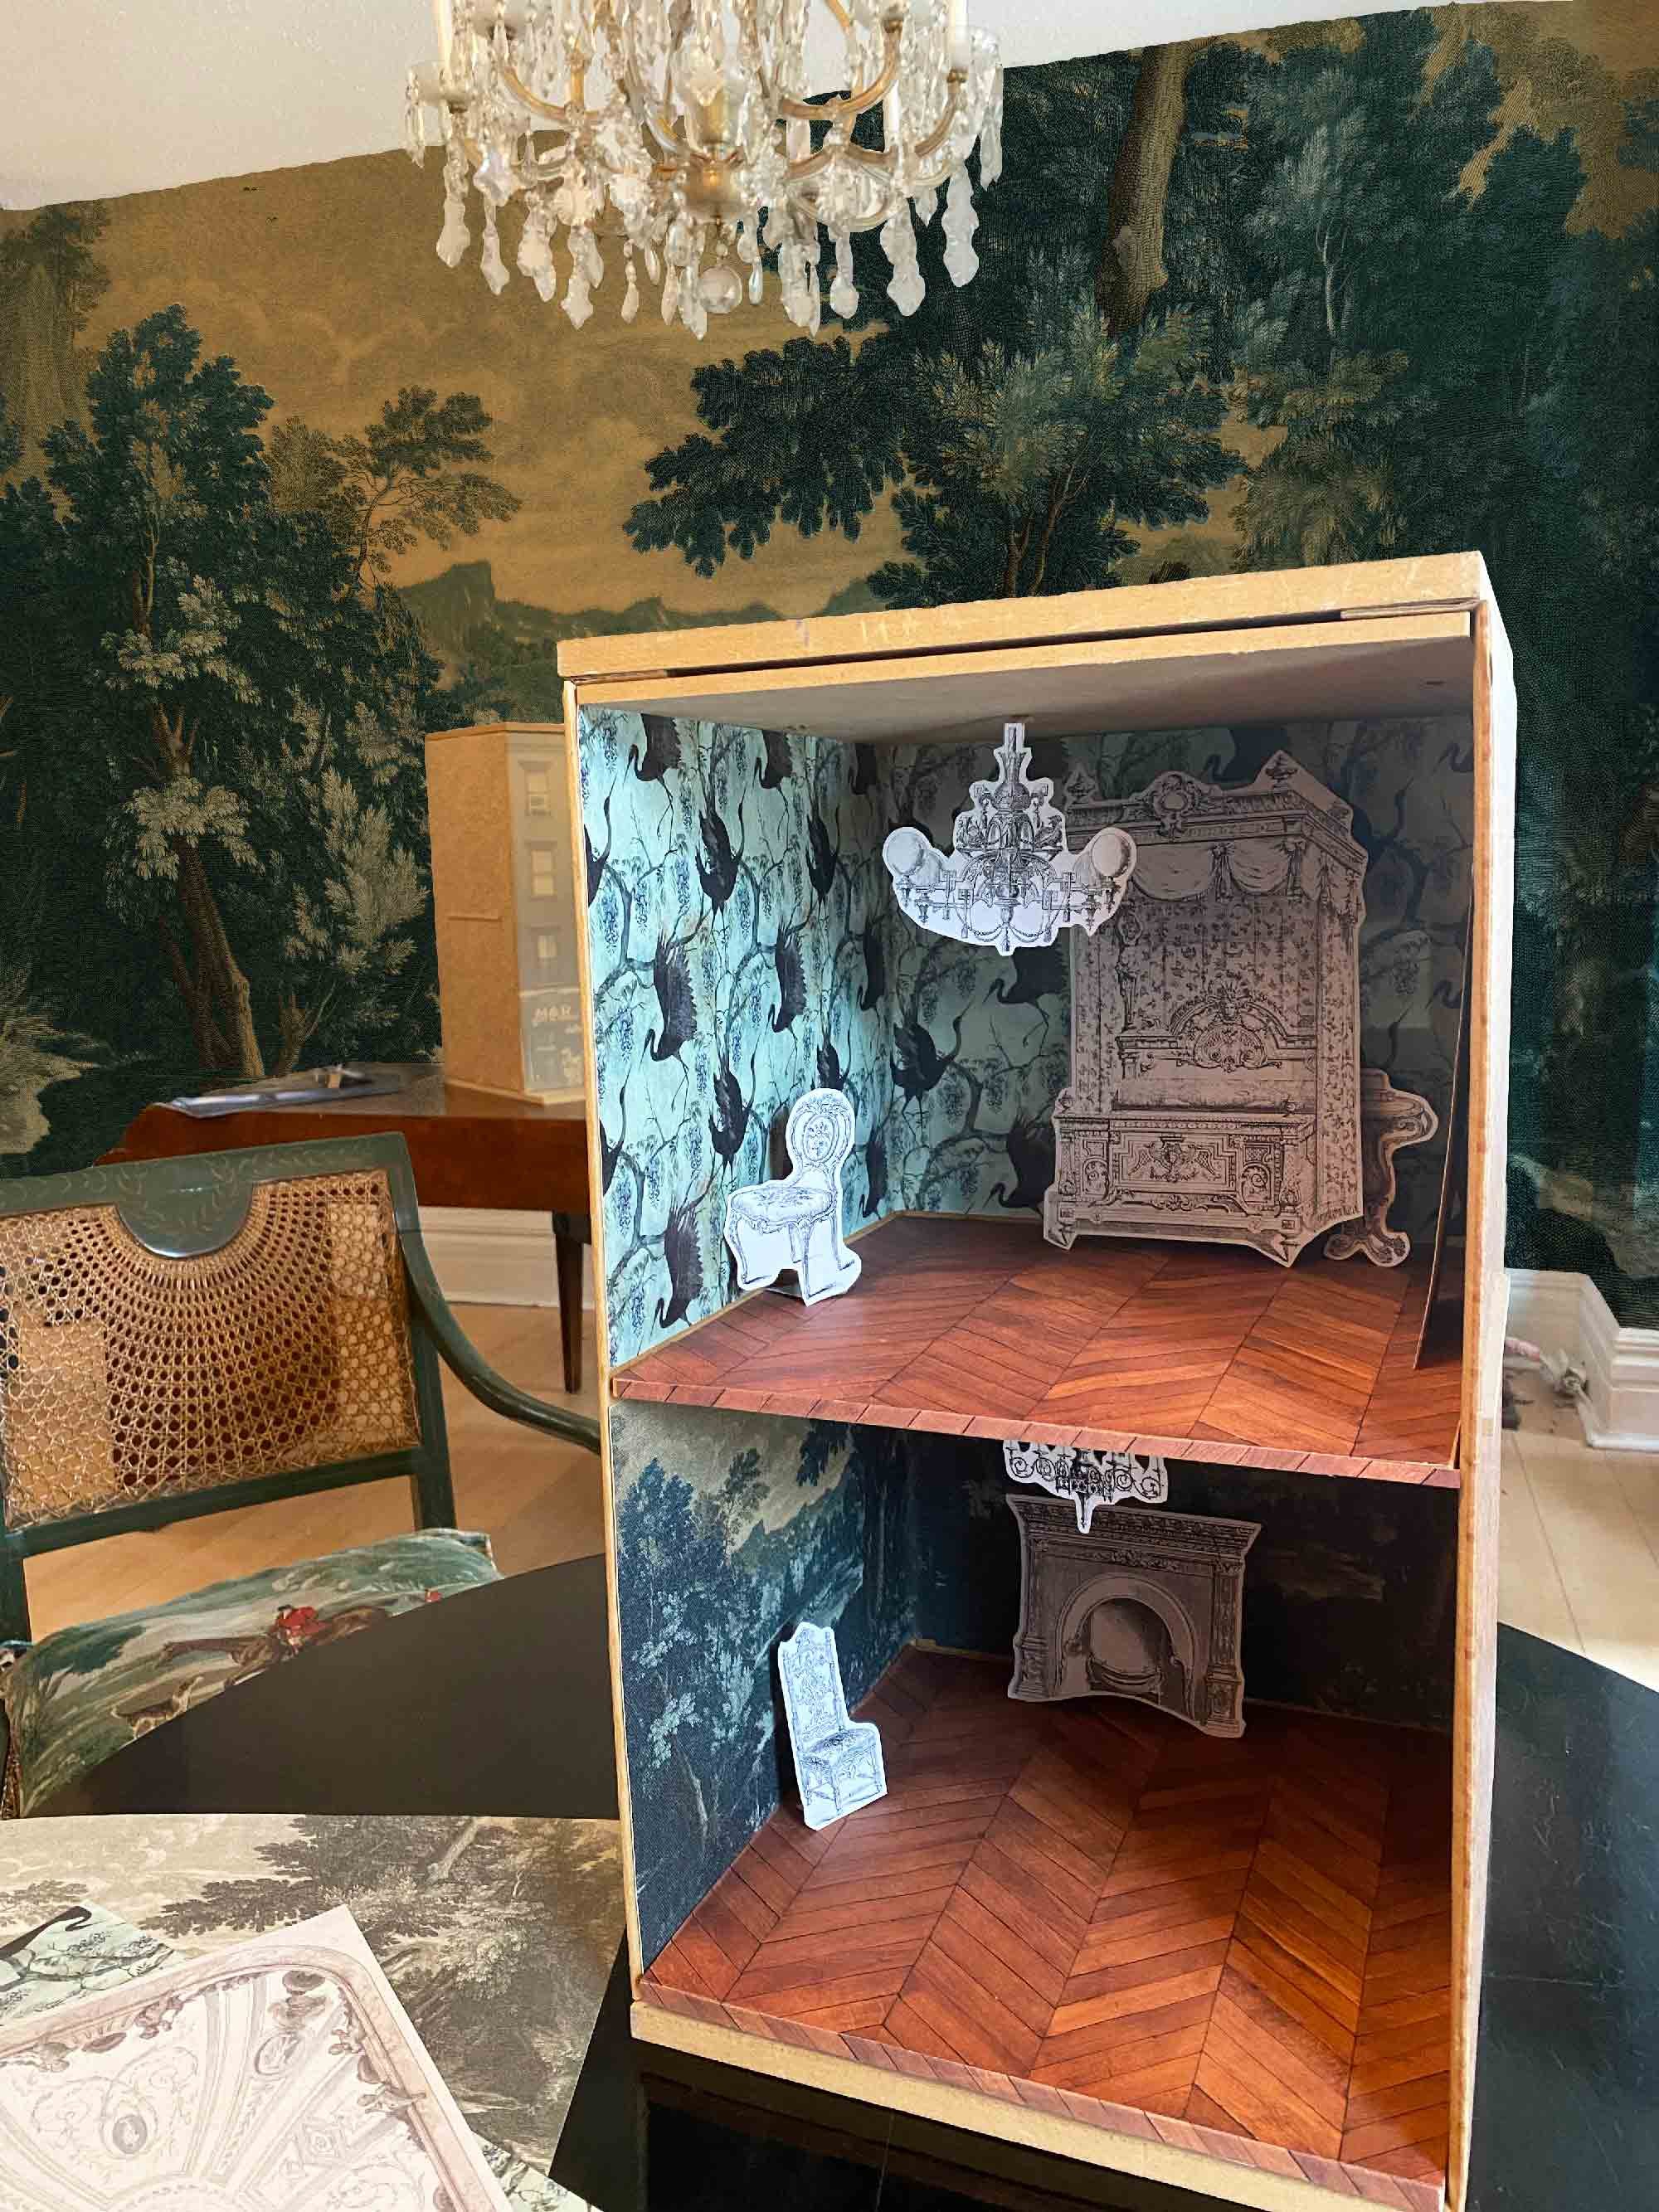
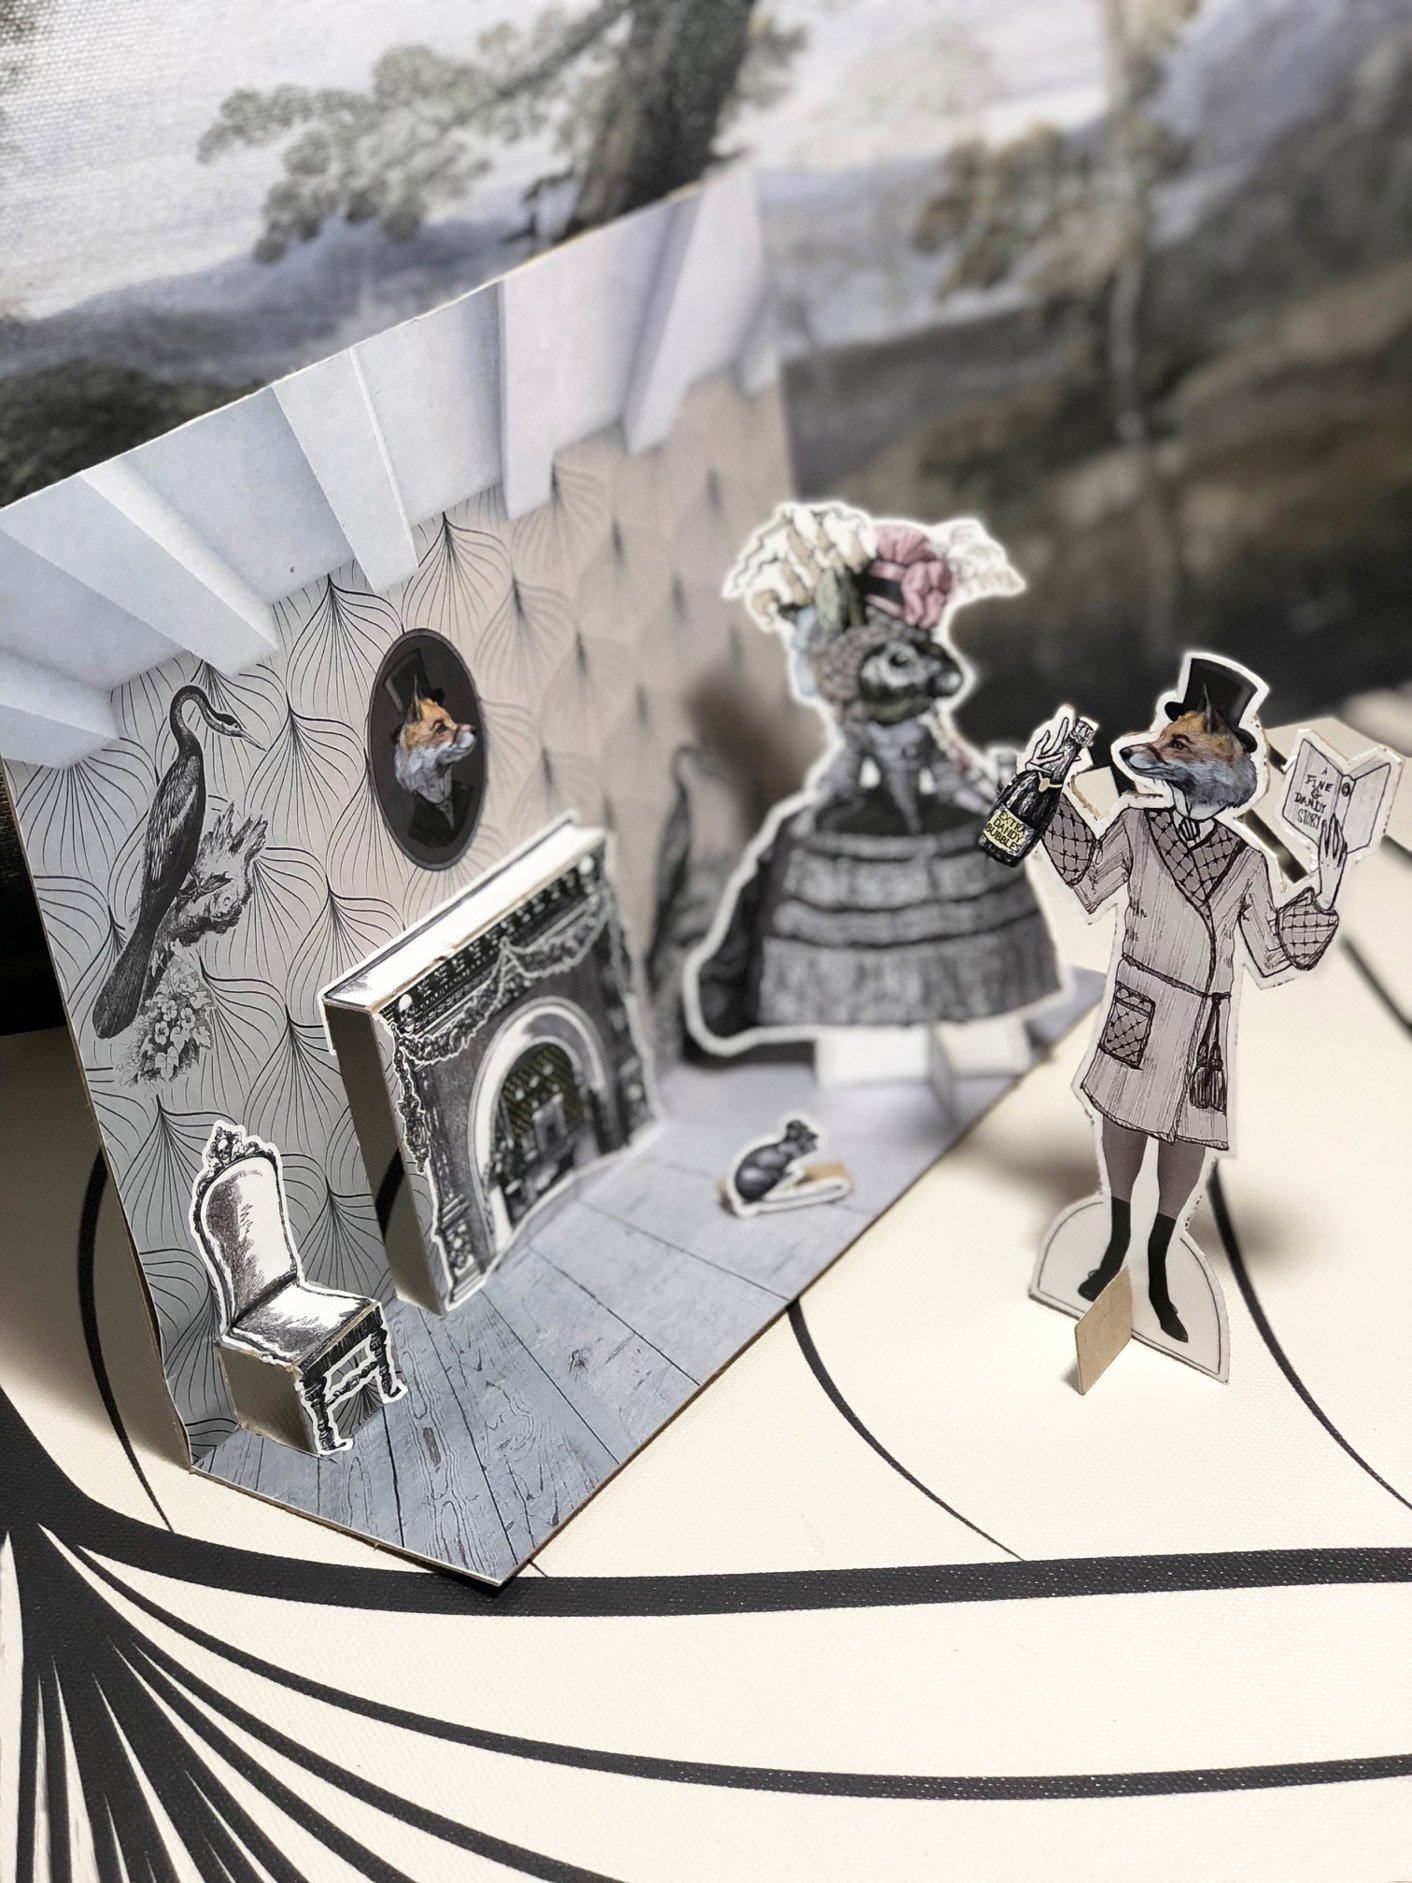
Well Dears, the festive season is upon us! What could be more thrilling than festooning one's very own diminutive pied-à-terre with a dazzling array of accoutrements? The arrival of Smallpaper now makes this ever so thrilling!
Instructions:
Before proceeding with your own mini manse, here are some handy little tips to ensure your big reveal will elicit a sufficient number of rapturous gasps.
Step 1: Hold your Smallpaper up to the area you will be covering, measure it and cut to fit using a sturdy set of shears.
Step 2: Using the adhesive of your choice (any effective glue or double sided tape will do) prepare your Smallpaper for installation. We adore the simplicity of double-sided adhesive tape due to limited mess and the ability to trim it precisely to size. Once your tape is measured and cut, adhere your strips to the outer perimeter of the non-printed side of your Smallpaper. Remove the backing of the tape and press the Smallpaper firmly in place inside your dollhouse, smoothing as you go.
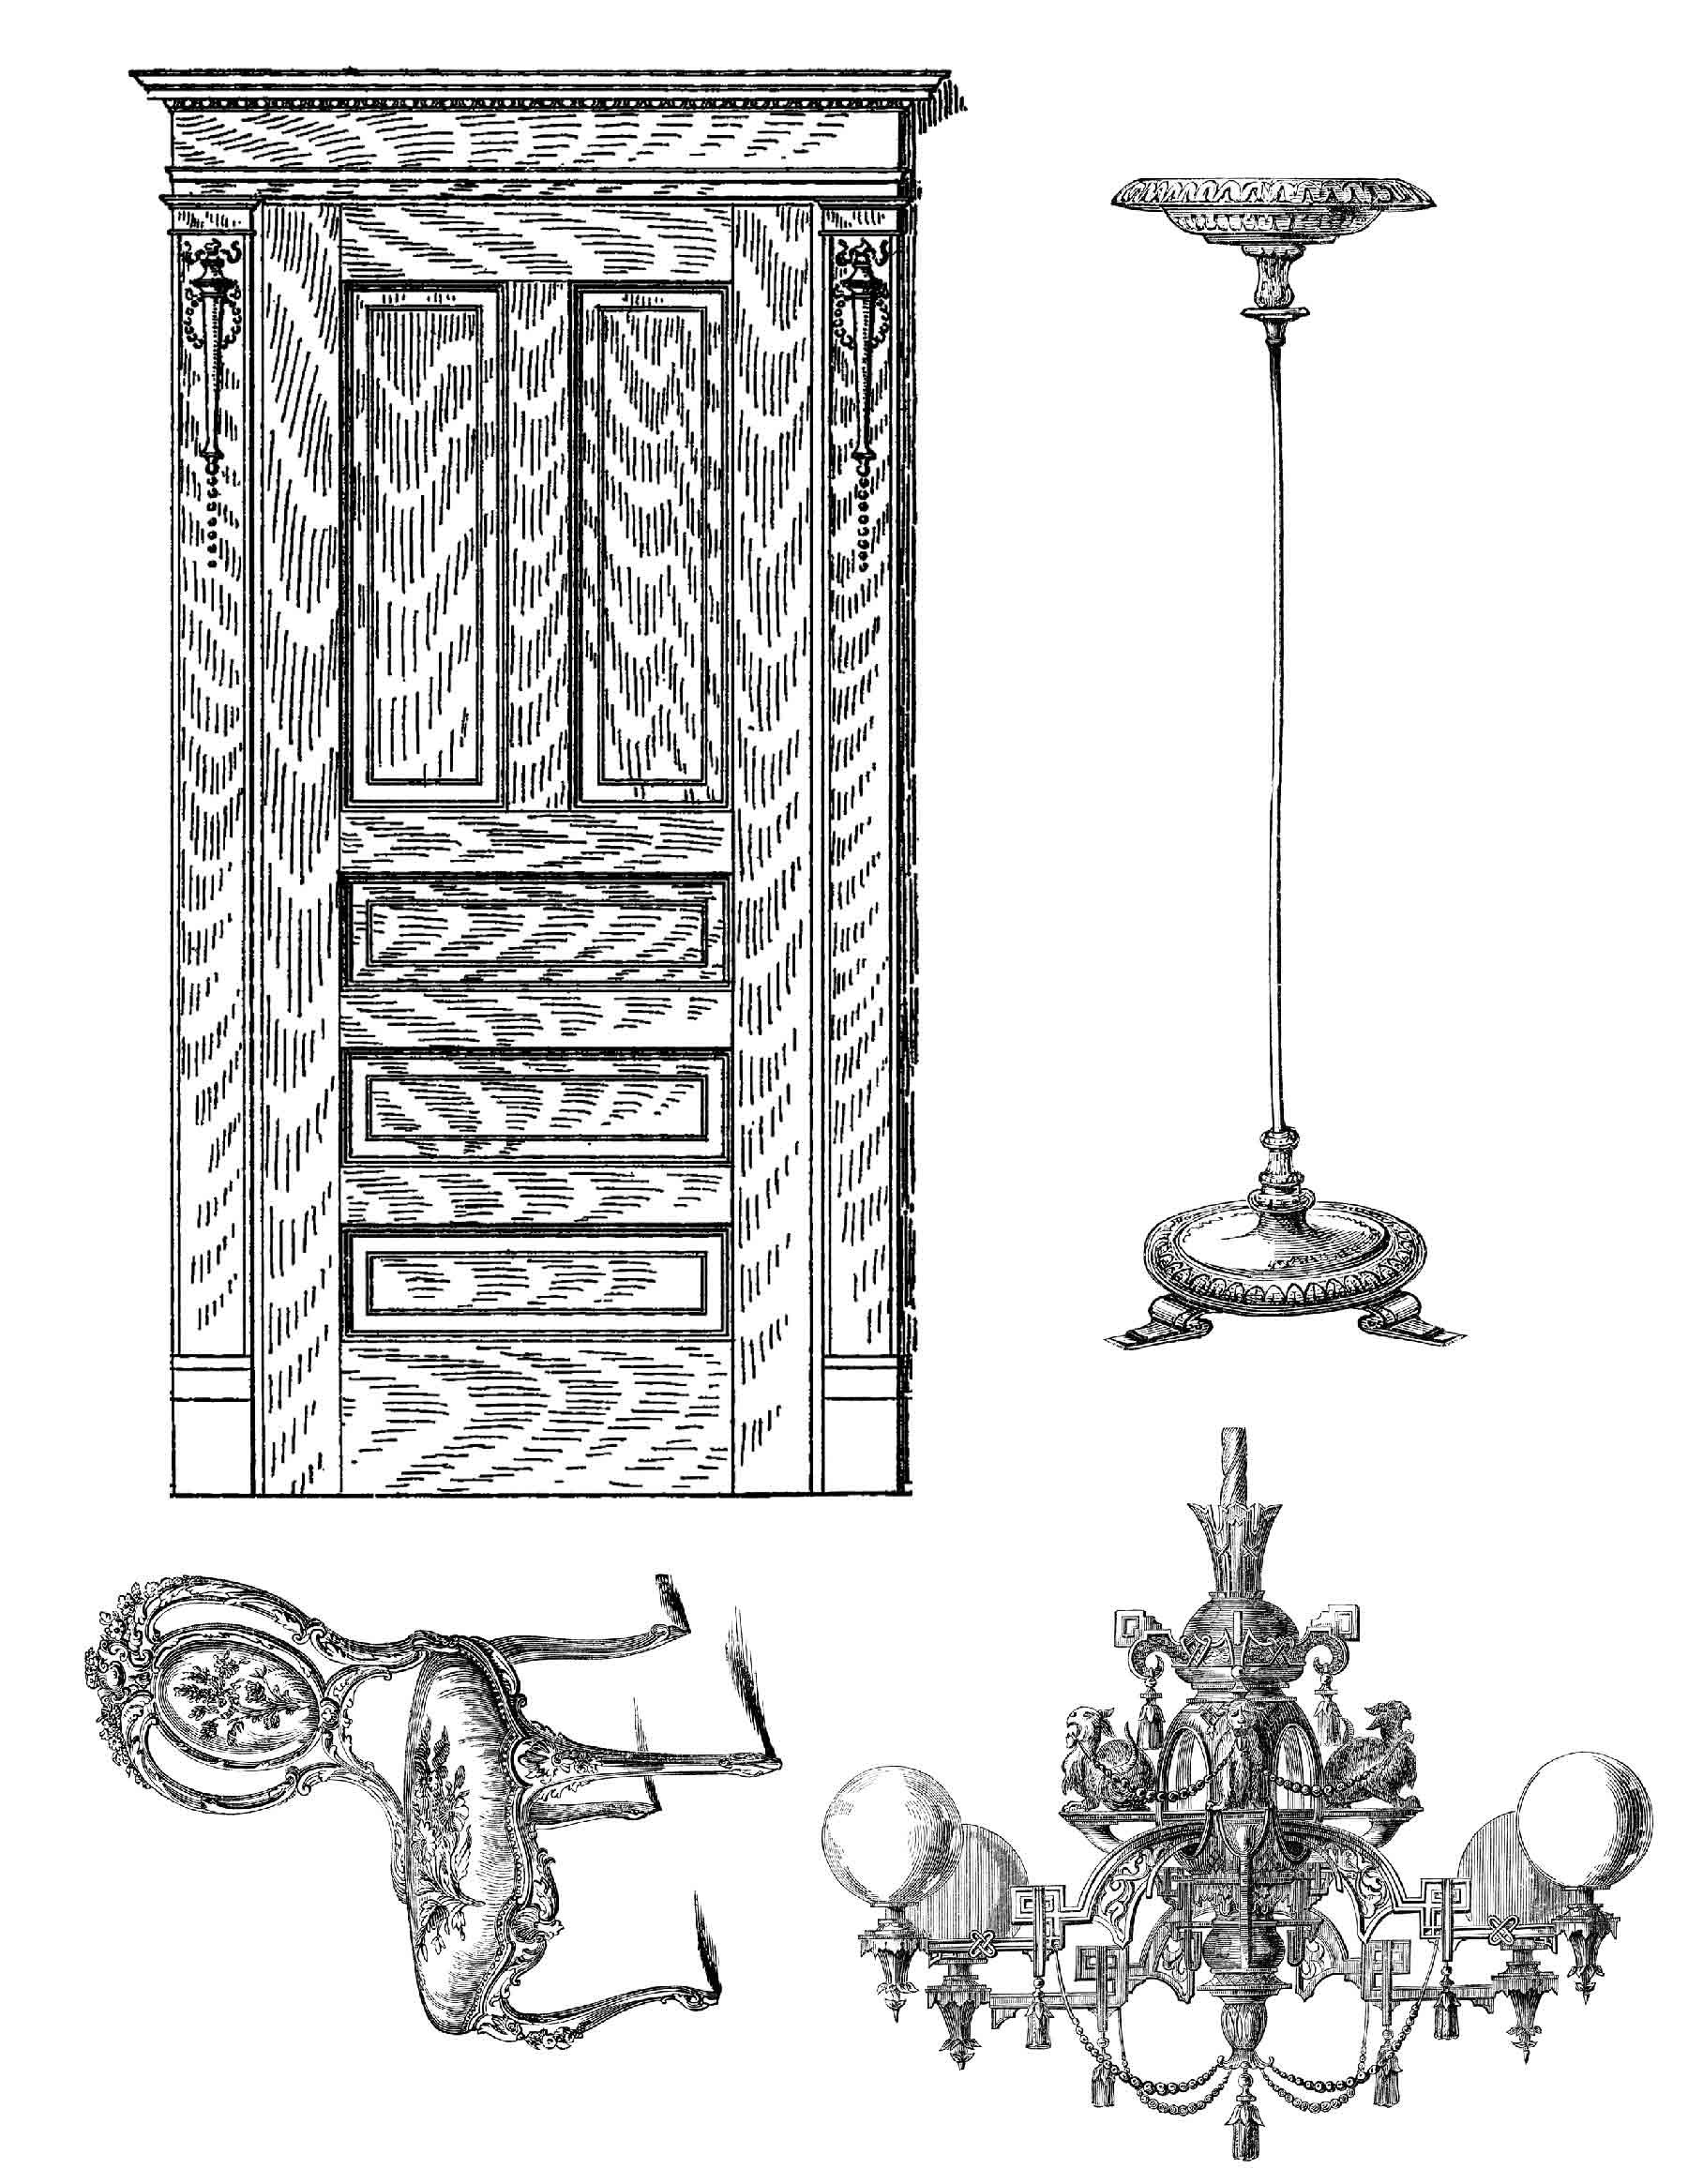
Step 3: Furnish your dollhouse with etchings you can easily find online, or you can use ours found here.
Step 4: Marvel at your work while enjoying a well deserved cocktail. In fact, enjoy several; your skill is unparalleled.
Let’s travel back in time for a minute...to 1974. We’re in a kitchen. The cabinets are wood, glazed orangish cedar with black iron handles. The sink is an avocado green, the refrigerator and stove follow suit. The countertops are a melange of glazed oranges, yellows and browns reminiscent of the boho pottery craze of the time. On the walls, possibly a dark beige or a buttercream wallpaper, vertical stripes, in shades of amber and spruce, laden with vines. Around the uppermost perimeter above the cabinetry, a border pattern teaming with florals, and baskets and chickens and horns of plenty and ducks and teapots and kittens with mittens.
Let us now gratefully return to the present. There was a time when certain rules applied, when “normal” was a thing and everyone wanted to be that. A time when houses, and fashion and careers and workplaces had a path that was somewhat predetermined. Lately things have changed… a whole lot.
There are some things about the past that are simply divine, a dedication to adornment, beauty, exquisite artistry and craftsmanship. The opulence and grandeur of spaces designed at such a scale and with such attention paid to materials and longevity, that one can barely imagine such indulgence being conceived of nowadays. So it’s with a discerning eye that we look to our past and select those things that speak to us, yell at us or simply touch us in a way that words can’t.
So, why not take the essence of all of these things, the good , the bad, the so bad it’s good and whip up a concoction that’s entirely new and modern?
We’ve reimagined borders. Yes, that’s right borders. Although to be fair let’s refer to them as Fine & Dandy Borders, because they are indeed both, and deserving of a new moniker.
We scoured our favourite design genres, added a dash of nostalgia, a pathological tendency toward spiffery and story telling, folded in a deep love of rich, layered, interiors, added a splash of utter disdain for rules and set about preparing a confection that would feed the soul and inspire the flights of fancy with a level of accuracy that could almost be described as scientific.
Fine & Dandy Borders are a new way to look at your space and imagine what’s possible. A wall is not just a wall, it’s a canvas. Who decided borders were reserved only for walls? Go ahead and break that rule right now, try them vertically, or on a piece of furniture while you’re at it, Go ahead, I’ll wait. Settle in for some more hysteria, like embellishing your stairs, your floor boards, your doorways, your bookcases, cabinets and mirrors...in fact feel free to abandon all reason, and stack more than one element together to create something that’s legitimately one of a kind. Think you need a professional installer for these? Wrong! Consider attempting this at 3am on your own, I certainly have. This is a whole new level of custom DIY, and while Fine & Dandy Borders are certainly exuberant, they are not at all exorbitant. A particularly compelling combo. They’re also commercial grade so your creative efforts will endure for friends and family to enjoy at length.
Forget everything you know about what can be done with wallcovering, paint and trim. Reject any rules that lead you down a path toward dreariness and beigery (we’ve made our feelings about beige very clear). It’s a new day and we’d like to offer you some goodies to make it infinitely more stunning and exponentially more you.
Download the diorama below:
-
Print and fold along horizon line from back.
-
Cut vertically along both sides of fireplace and chair.
-
Score horizontally along dotted line (chair seat and mantle edge.)
-
Score horizontally from back at top and bottom of fireplace and top of chair seat and bottom of chair legs.
-
fold and display.
OH DARLING, IT'S BEEN A BUGGER OF A YEAR.
Here’s to you and yours, and our first year as Fine & Dandy Co.
Now can we please all enjoy a cocktail?
It’s been topsy-turvy, full of pearl-clutching plot twists and oh, what tremendous joy.
It all began with three long-time friends who became creative partners, then a proper family. We’ve gained knowledge, insight, and grey hairs, while often losing most of our minds. And we wouldn’t have it any other way.
We want to thank you for taking this journey with us, we are delighted by the new friends we’ve met along the way, and so humbled by the opportunities to get to work and create with you.
In a year where the climate and global temperament feels divisive and polarized, we take comfort in finding joy in the things that unite us. We believe all of us, including you, need a collective round of applause for making it through this b*#ch! Cling-cling!
We are so excited for new adventures. As we say farewell to 2018, we say BRING IT to all the miracles ahead. So please raise your glass, flute or plastic cup and say cheers. To you all, to the holidays, and to an exquisitely fine and dandy New Year!
Champagne & Bellinis
Shelley, Jill and Carla
SECRETS AND LAYERS
A secret it is inherently alluring. It really doesn’t particularly matter who you are, knowing something that not everyone else knows is enticing, just ask the tabloid industry or TMZ. While the tawdry details of celebrity scandals, conspiracy theories and unsolved mysteries usually dwell on the darker side of the human experience, discovering an unexpected detail in a object or uncovering a hidden layer even in the most abstract place can be both thrilling and satisfying in equal measure.
Design provides a powerful platform to communicate on multiple levels. It transcends verbal language and allows for subjective interpretation. No two people will experience art or design in precisely the same way, that’s what makes it so magical. Your perception is entirely your own.
AAA
AAAAAA
Some of my favorite artists and designers manage to infuse their work with multiple, subtle layers that unfold, and reveal secrets that may not be obvious at first. It is this alchemical process that endlessly inspires me and challenges me to create work that pushes past the obvious, even if it’s just a little bit.
I love color. I mean love, love, LOVE color. It's on par with shoes, handbags, jewelry and sunglasses. So, it's a serious and forever kind of love. Color and I first began our affair in early childhood, I was dazzled by the soft, soothing, cool tones of ocean blues or the loud, vivid, joyful cheers of golds and yellows. Much later as a teenager I was introduced to color theory and learned about the emotional impact colors have on us. Everything clicked in to place, and I knew that somehow I would be permanently attached to color and all of its secret wonders.
Having been in design for over twenty years, I have used color respectfully and always with reverence, it is one of the most powerful tools any designer has in their arsenal. It is the language designers and visual communicators use to connect with their audience. It transcends age, culture, ethnicity, language and gender and even more importantly it makes us feel, even if we don't always know why.
AAAA
Color, therefore in your home or environment can be a critical element in how you feel in your bedroom, kitchen, living room or bathroom. Sure, color can transform a room aesthetically, but it can also determine how you feel in that room. Do you want to feel soothed and calm in your bedroom? Select a shade of blue that you adore. Choose blue for your dining room however and you might find your appetite suppressed.